The Best Way to Remove Wallpaper: A Complete Step-by-Step Guide
We’ve all been there—walking into a room and feeling stuck in a time capsule, staring at outdated wallpaper that screams for change. Removing wallpaper may seem like a daunting task, but it doesn’t have to be. Imagine transforming that space into a fresh, modern sanctuary without the frustration or mess.
This guide will show you the best, easiest, and cleanest ways on How to remove wallpaper easily, with actionable steps and pro tips for a hassle-free experience.
Why It’s Important to Remove Wallpaper Properly
Removing wallpaper might seem straightforward at first glance, but several challenges can complicate the process. From dealing with different wallpaper types to addressing hidden issues behind the paper, understanding these obstacles can save you time and prevent unnecessary damage.
-
Understanding Your Wallpaper Type
One of the biggest factors in wallpaper removal is the type of wallpaper on your walls. Each type requires a specific approach to ensure effective and damage-free removal:
-
Paper-backed wallpaper vs. vinyl wallpaper:
Paper-backed wallpaper tends to soak up water, making it easier to remove with a water-based solution. Vinyl wallpaper, on the other hand, is water-resistant and often requires a scoring tool or steamer to penetrate its surface effectively. - Strippable vs. traditional glued wallpaper: Strippable wallpapers are designed to peel away easily without leaving much residue, while traditional glued wallpapers can leave stubborn adhesive behind, making them more time-consuming to remove.
Key Point: Identifying your wallpaper type before starting is crucial. Using the wrong method could lead to unnecessary damage or make the process much harder than it needs to be.
-
Hidden Obstacles Behind the Paper
-
- Damage to walls from improper removal.
- Issues with multiple wallpaper layers.
- Source: Brief mention of studies on wall damage due to adhesives.
Step 1: Prepare Your Space for Easy Wallpaper Removal
- Gather the Necessary Tools and Materials
Having the right tools at hand makes wallpaper removal significantly easier. Here’s what you’ll need:

- Protect Your Surroundings
Wallpaper removal can get messy, especially with water and adhesive involved. Protect your surroundings by:
- Clearing the Area: Move furniture out of the room if possible. For larger pieces, cover them with plastic sheeting.
- Covering Floors: Lay down drop cloths or old towels to protect flooring from water or falling debris.
- Taping Outlets and Molding: Use painter’s tape to shield electrical outlets, light switches, and baseboards from moisture.
With your space prepared, you’re ready to move on to selecting the best method for wallpaper removal. Proper preparation may feel like an extra step, but it saves time and reduces the risk of damage later in the process.
Step 2: The Best Ways to Remove Wallpaper Step-by-Step
Not all wallpaper is created equal, and choosing the right removal method can make the process significantly easier. Whether your wallpaper is strippable, glued, or vinyl-coated, understanding the best approach for your specific situation is crucial.
- Test Your Wallpaper
Before committing to a removal method, test a small section of your wallpaper to determine how easily it peels away:
- Start at a Corner: Use your fingernail or a scraper to lift one corner of the wallpaper.
- Peel Slowly: If the wallpaper comes off easily without leaving residue, it’s likely strippable.
- Check for Adhesion: If it resists peeling or leaves adhesive behind, you’ll need a more advanced removal method.
-
Choose the Right Method
Once you’ve identified the wallpaper type, select the method that works best for your situation:
-
Strippable Wallpaper:
- The easiest type to remove. Simply start at a corner, pull gently downward, and continue peeling until the wall is clear.
-
Water and Soap Method (For glued wallpaper):
- Mix warm water with a small amount of dish soap in a bucket.
- Apply the solution using a sponge or spray bottle, letting it soak for 10-15 minutes.
- Use a scraper to remove softened wallpaper.
-
Vinegar Solution Method (Eco-friendly alternative):
- Recipe: Mix 1 cup of white vinegar with 2 cups of warm water.
- Spray the solution onto the wallpaper and allow it to soak in.
- Scrape away the wallpaper once it softens.
-
Steam Removal Method (For stubborn vinyl or multiple layers):
- Use a wallpaper steamer to heat and loosen adhesive.
- Hold the steamer against the wallpaper for a few seconds, then scrape carefully.

-
For stubborn wallpaper, consider a commercial solution like DIF Wallpaper Stripper. These products are designed to dissolve adhesive quickly, saving you time and effort.
Step 3: Step-by-Step Wallpaper Removal Process
Now that you’ve prepared your space and chosen the best removal method, it’s time to dive into the step-by-step process of removing wallpaper. Follow these instructions carefully to achieve a smooth and clean result.
For Strippable Wallpaper
- Locate a Loose Edge: Start at a corner or seam where the wallpaper has begun to lift.
- Peel Gently: Pull the wallpaper downward at a slight angle to prevent tearing.
- Scrape Residue: If any adhesive remains, use a scraper or damp sponge to remove it.
For Glued Wallpaper
- Perforate the Surface: Use a scoring tool to create small holes in the wallpaper, allowing moisture to penetrate.
- Apply Solution: Spray or sponge the wallpaper with your chosen solution (soap and water, vinegar, or commercial remover).
- Wait to Soften: Allow the solution to soak for 10–15 minutes to loosen the adhesive.
- Scrape Carefully: Start at a corner and scrape the wallpaper off gently with a wallpaper scraper. Work slowly to avoid damaging the wall underneath.
For Vinyl-Coated or Stubborn Wallpaper
- Use a Steamer: Hold the steamer over the wallpaper for a few seconds to soften the adhesive.
- Scrape in Sections: Scrape the heated section immediately before moving to the next area.
- Repeat as Needed: Continue steaming and scraping until all wallpaper is removed.
For Multi-layer Wallpaper
- Remove the Top Layer: Peel away the top decorative layer using a dry method.
- Soak the Bottom Layer: Apply warm water or a vinegar solution to the underlying adhesive layer.
- Scrape Thoroughly: Remove the softened adhesive and remaining paper.
Pro Tip: Keep Your Tools Clean
- Wipe down your scraper and tools frequently to prevent adhesive build-up, which can make scraping less effective.
- Keep a bucket of clean water nearby to rinse your tools as needed.
By following these steps for your specific wallpaper type, you can ensure a clean and efficient removal process. Next, it’s time to clean and restore your walls for their next transformation.
Step 4: Cleaning and Restoring Walls After Wallpaper Removal
-
After removing the wallpaper, it’s important to clean and repair your walls to prepare them for painting, new wallpaper, or any other finish. This step ensures a smooth surface and prevents future issues.
Remove Adhesive Residue
Even after the wallpaper is gone, traces of adhesive may remain. Follow these steps to remove the residue completely:
-
Create a Cleaning Solution:
- Mix warm water with a small amount of dish soap.
- For tougher adhesive, use a commercial adhesive remover.
-
Apply the Solution:
- Use a sponge or cloth to apply the solution to the adhesive areas.
- Let it sit for a few minutes to break down the residue.
-
Scrub Gently:
- Use a non-abrasive scrubber or sponge to remove the adhesive.
- Wipe clean with a damp cloth to remove any leftover cleaner.
Check for Wall Damage
Removing wallpaper can sometimes reveal issues like small holes, cracks, or gouges in the drywall or plaster. Address these issues as follows:
-
Inspect the Surface:
- Look for visible damage or imperfections on the wall.
-
Fill Holes and Cracks:
- Use spackling paste or joint compound to fill any holes or cracks.
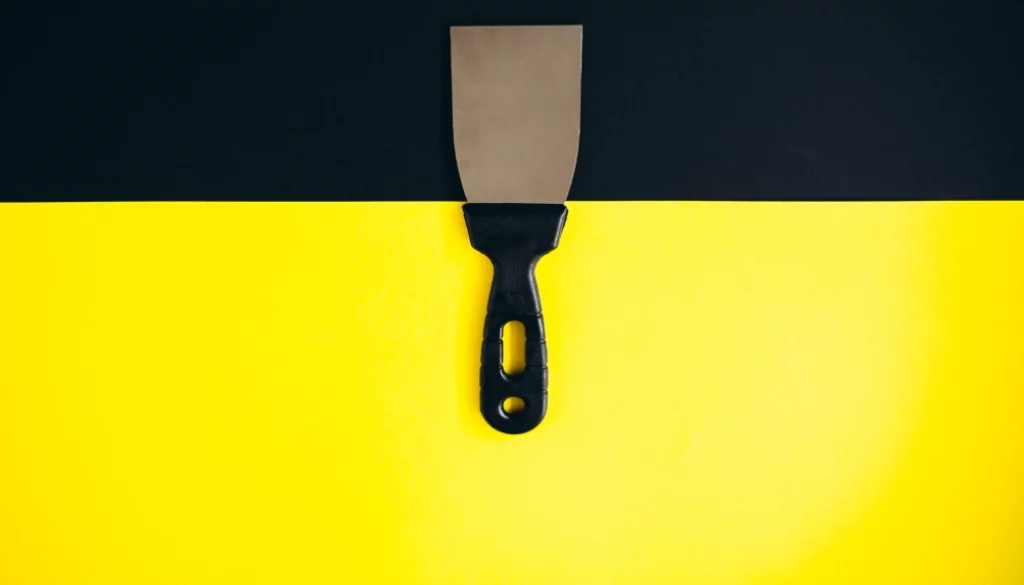
- Apply with a putty knife and smooth out the surface.
-
Sand the Surface:
- Once the filler dries, sand the area lightly with fine-grit sandpaper to ensure a smooth finish.
- Wipe away any dust with a damp cloth.
Prime Your Walls
Priming the walls is essential, especially if you plan to paint or apply new wallpaper:
-
Use a Quality Primer:
- Choose a primer that’s suitable for your wall type (e.g., drywall or plaster).
- Priming helps seal the surface and creates a better bond for paint or wallpaper.
-
Apply Evenly:
- Use a roller or brush to apply the primer evenly across the entire wall.
- Allow it to dry fully before proceeding.
-
ⓘ Tip
Pro Tips for Efficient Wallpaper Removal
- Work in small sections to maintain focus and control.
- Avoid over-soaking to protect drywall integrity.
- Use a fan or dehumidifier to speed up drying time.
- Cover electrical outlets to prevent damage, and use painter’s tape to protect molding. Avoid over-soaking the wallpaper, as this can damage drywall underneath.
FAQ: Common Questions About Removing Wallpaper
Q1: What’s the easiest way to remove wallpaper?
The easiest method is using a steamer for tough adhesives or water and soap for strippable wallpaper.
Q2: Can I paint over old wallpaper?
It’s not recommended as paint may not adhere well, and imperfections will show through.
Q3: How long does it take to remove wallpaper?
Depending on the room size and wallpaper type, it can take a few hours to a full day.
Q4: Is wallpaper removal messy?
It can be, but using drop cloths and proper tools minimizes mess.
Now that your walls are free of wallpaper, you’re ready to create a space that reflects your style. Whether you plan to paint or add new wallpaper, remember to prep your walls properly for a polished finish.
Removing wallpaper is just one step in creating a fresh look. For more tips on transforming your home, check out our DIY and maintenance ideas.


